CULTURAL DIVERSITY PUZZLE
Please be sure to scroll down past this paragraph to find the audio players for a few of the student's work. Press play and you will be able to hear what they have to say about their work.
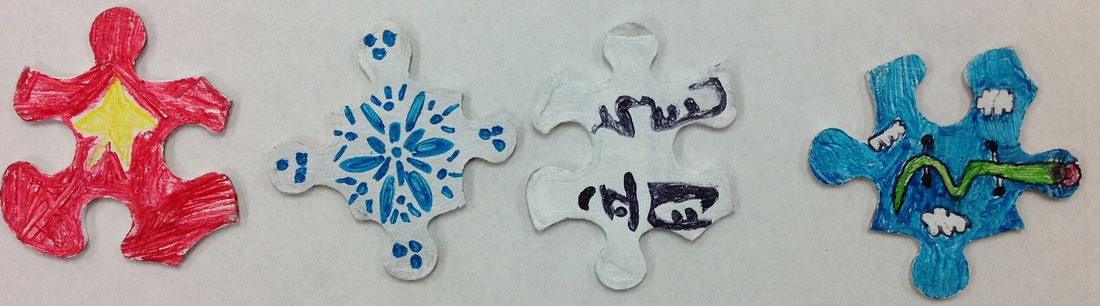
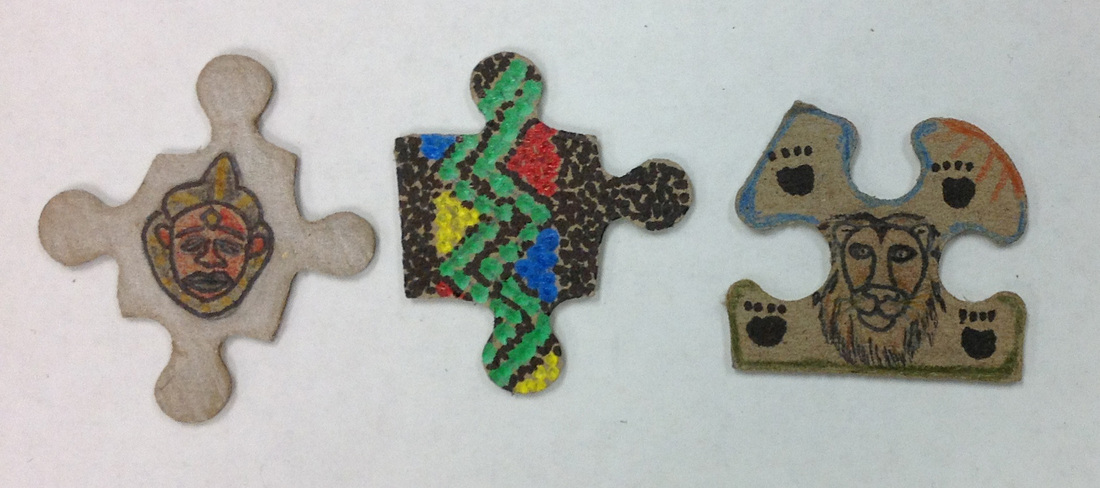
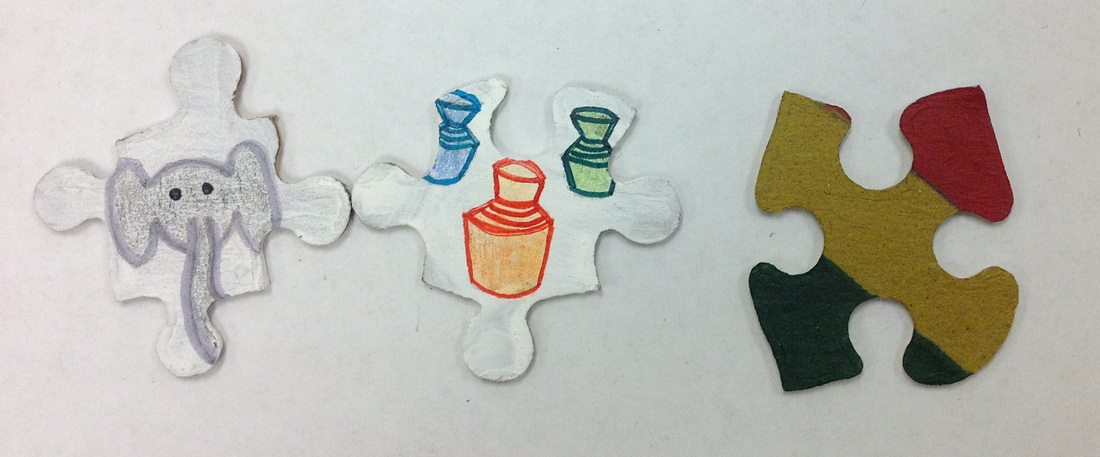
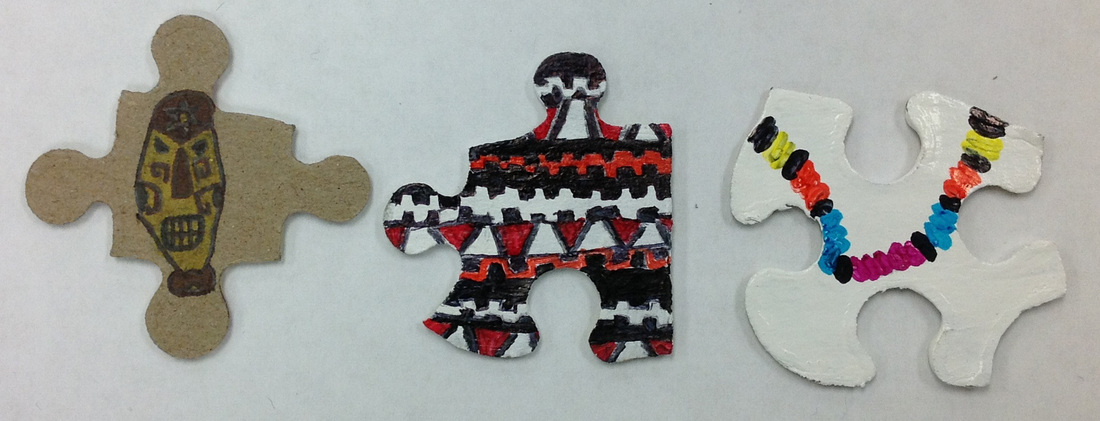
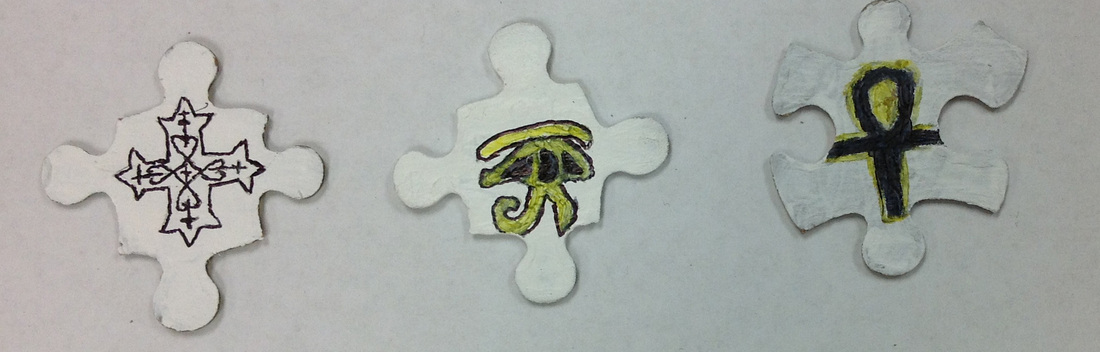
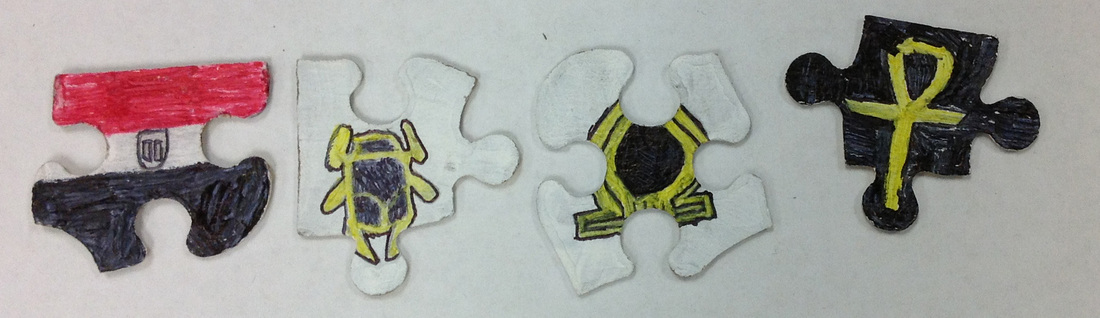
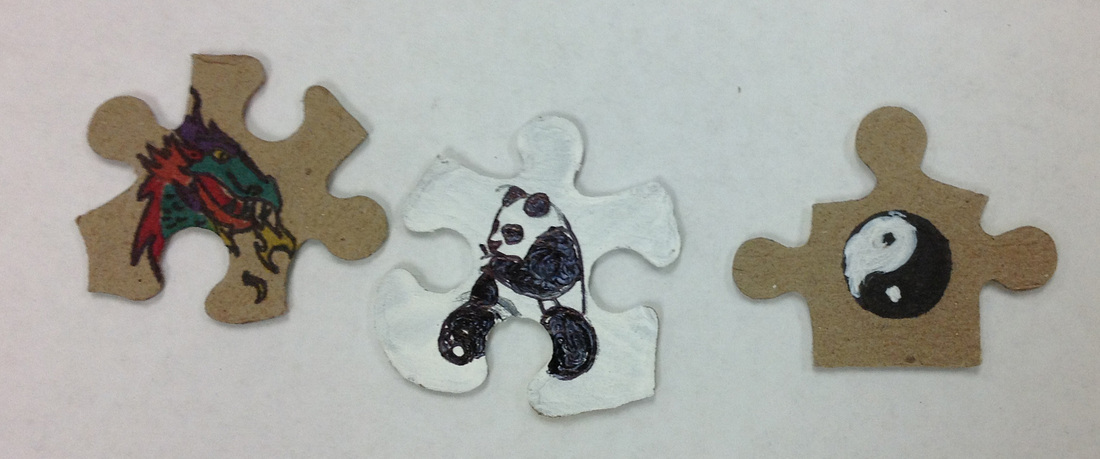
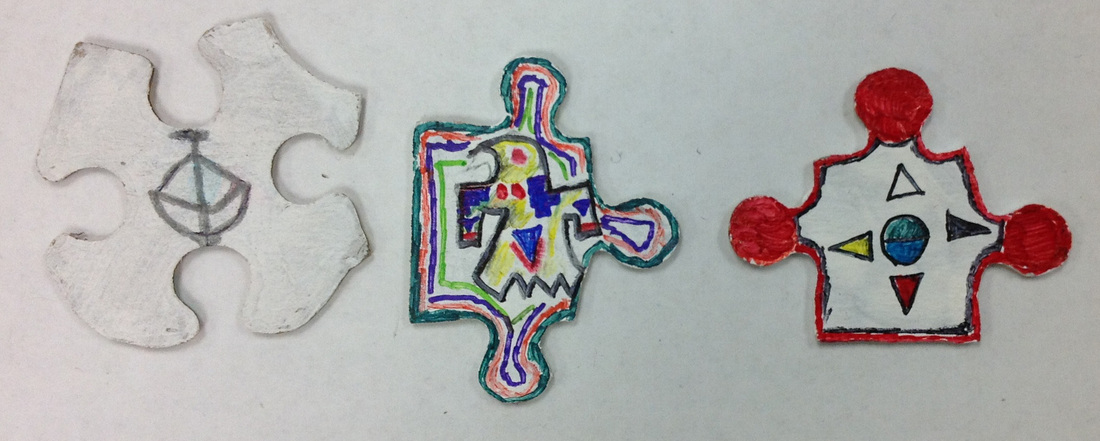
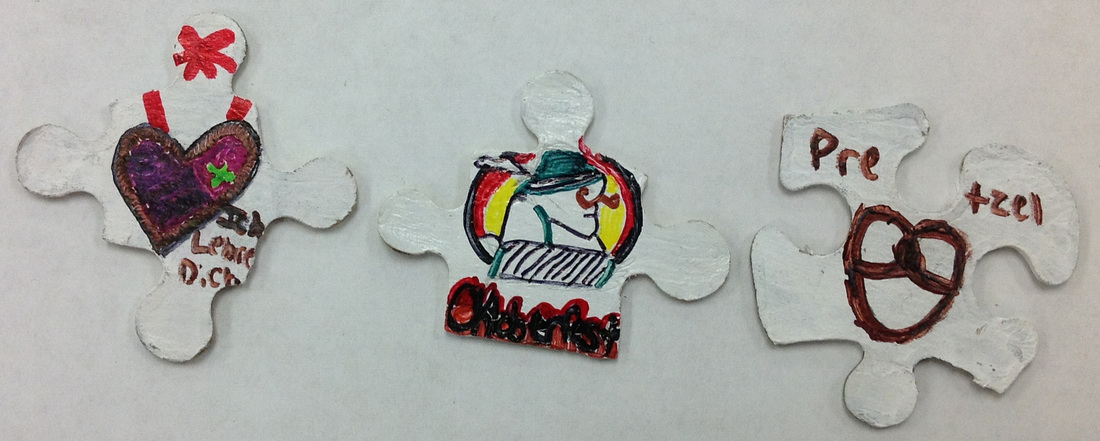
The Cultural Diversity Foundation sponsored a program in our school district and each school was asked to create a display for this event. I wanted a project that featured several different cultures. As I searched the Internet and my brain, I decided upon a puzzle as the foundation for this project. In my head, I see this colorful display of symbols scattered across the art work. In my mind's eye, it's like a mosaic where each unique cultural symbol is fitly joined together to create one cohesive unit. Now at this very moment, I don't know if my vision is accurate, but I sure hope it is. For this project, I asked each of my eighth grade students to create three symbols from a particular culture. As you've been reading this page, some of those symbols sets can be see scrolling through. Have you been able to figure out the culture to which they belong? Even though this is technically an 8th grade project, there are a few 6th and 7th grade students who have joined us in this creation. I originally ordered a 150 piece puzzle, but it was delayed in shipping. I didn't want to delay the students any longer, so I purchased what I could find locally, which was a 300 piece puzzle. Uh oh, twice the amount of pieces, students, and time are going to be needed. Thankfully, I have some students who are eager to join in with us and for that, I'm very thankful.
If you want to try this project, here are a couple of suggestions. First, assemble the puzzle according to the image. By the way, I had originally planned to gesso over the printed part, but time was not my friend...and I'm glad it wasn't. About that time, my sister suggested that the students paint on the back. I agreed that was a good idea and later, I realized that was a great idea. What IF I had covered over the design! I can only imagine the time, as well as the heartache, frustration, and likely tears that would have erupted as I put a "design-less" puzzle back together. That certainly would have been a major "duh" moment for me. Anyway, that is not the case. I would also suggest that once the puzzle is together to number the pieces on the printed side. I began at the top, left with numeral 1 and continued numbering to the right until I finished that row. Then I began at the next row down and continued the process. Now, when I finally reassemble the puzzle, it will only take a fraction of the original time. I love those "ah-ha" moments.
If you want to try this project, here are a couple of suggestions. First, assemble the puzzle according to the image. By the way, I had originally planned to gesso over the printed part, but time was not my friend...and I'm glad it wasn't. About that time, my sister suggested that the students paint on the back. I agreed that was a good idea and later, I realized that was a great idea. What IF I had covered over the design! I can only imagine the time, as well as the heartache, frustration, and likely tears that would have erupted as I put a "design-less" puzzle back together. That certainly would have been a major "duh" moment for me. Anyway, that is not the case. I would also suggest that once the puzzle is together to number the pieces on the printed side. I began at the top, left with numeral 1 and continued numbering to the right until I finished that row. Then I began at the next row down and continued the process. Now, when I finally reassemble the puzzle, it will only take a fraction of the original time. I love those "ah-ha" moments.
Jeremy
Ciera
Caitlin
Bailey
Reece
Cameron
Veronika
Tre
Angelina