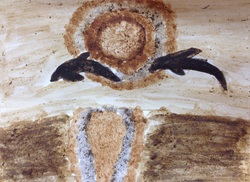
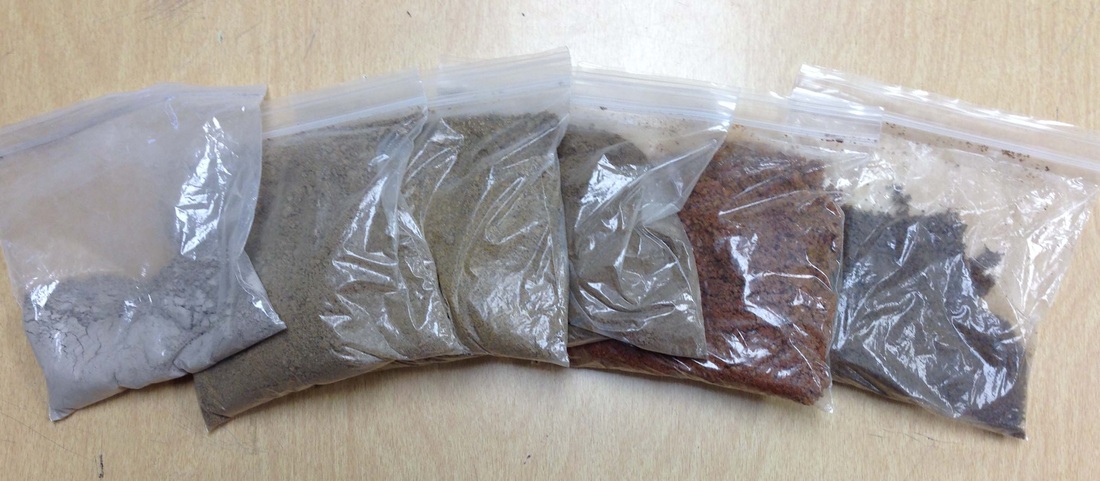
The title to this blog entry was a statement made by one of the students when I first introduced this assignment. To give you a little background on this assignment, I would need to mention West Hardin's "Green Teacher", Leslie Meredith...Science teacher extraordinaire. My "green" reference of Mrs. Meredith, certainly does not imply she is new to education or that she does not know much.....it is quite the contrary. My comment refers to her love of the environment and the preservation thereof. Due to her impetus, we are a "Green and Healthy" School, have a patch of native grasses growing next to our school, and one of the individuals responsible for our recent Farm To School Expo. Leslie recently approached me concerning the Expo and the desire to involve the art students. She discussed the farm to school program from the soil to the table....and the idea emerged. Have you yet figured out what we used for our paintings? If you guessed soil, you are so very correct! My sixth and seventh grade art classes were given the task of bringing in local soil for our paint pigment. Using natural items for pigment is not anything new, as we have Cave Paintings as evidence. The sixth graders were most excited about bringing in the soil, but 7th grader, Levi, brought in the widest range of colors. In class, we talked about the reddish soil getting its color from iron and the darker soil having humus.
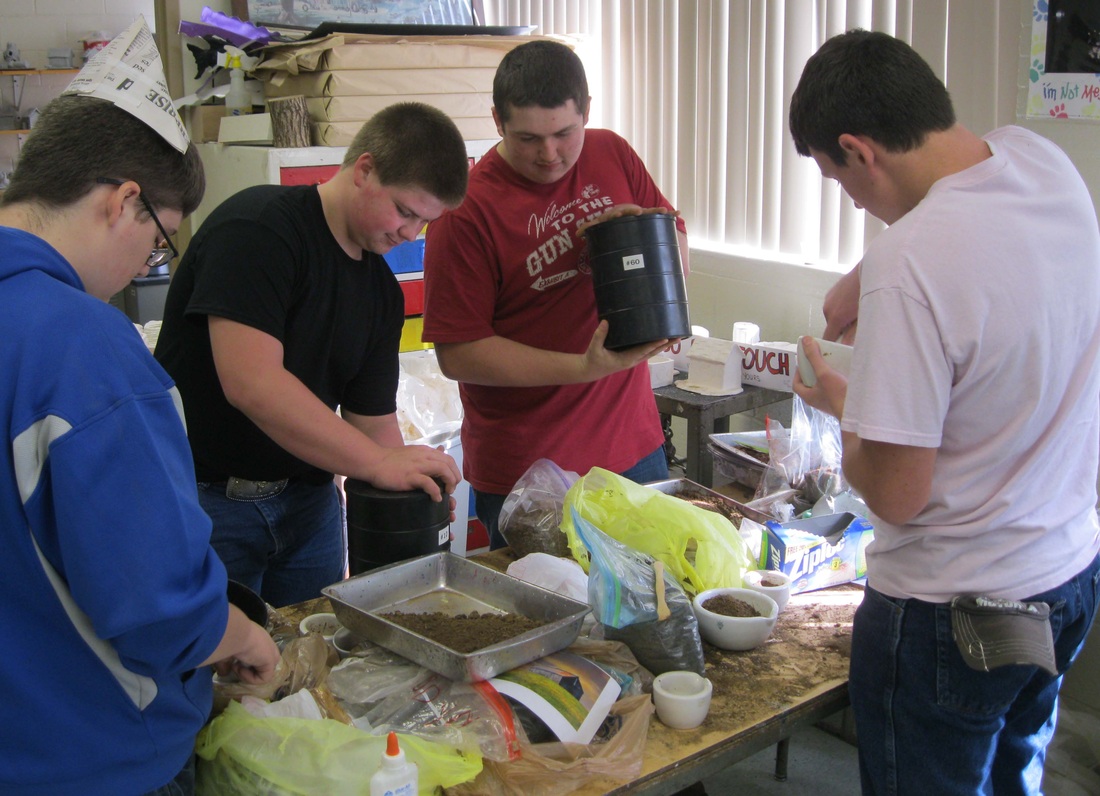
Bringing in the soil was only the beginning of our process, but I had several students eager to provide the needed help. As you see below, even my 8th grade guys got in on the fun. They were glad to use the mortar and pestle to break down the larger particles of dirt. Next, the sieve was used to allow the smallest particles to be used for our paint. I extend many thanks to Kylan, Shelby, Bradley, and Spencer for their eagerness to help.
Once the soil was at the fine particle stage, we placed a tablespoon or two into a small cup. Just as the Cave Artist needed a binder to hold the paint mixture to the surface, so did we. Having no desire to use animal fat in this process, I did as the Cave Artist did and used what I had readily available. Glue, good old Elmer's Glue! I would estimate a teaspoon of glue was added to the two tablespoons of soil, with just enough water to make the soil paintable.
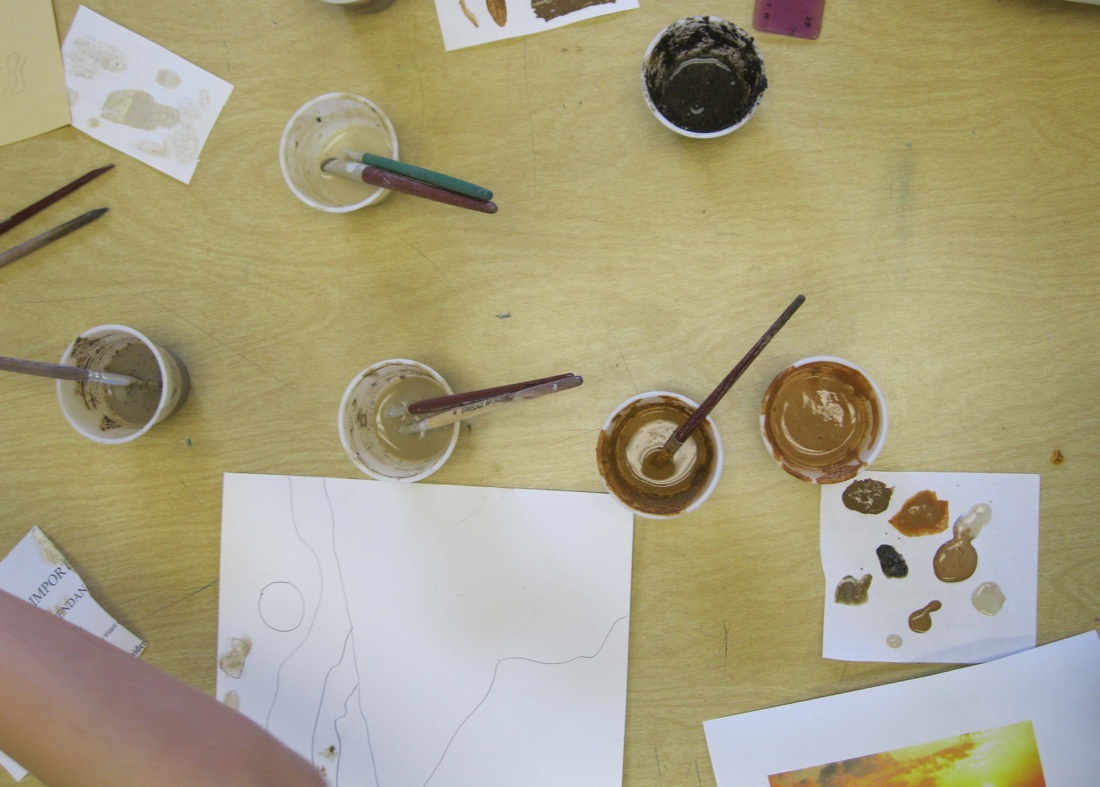
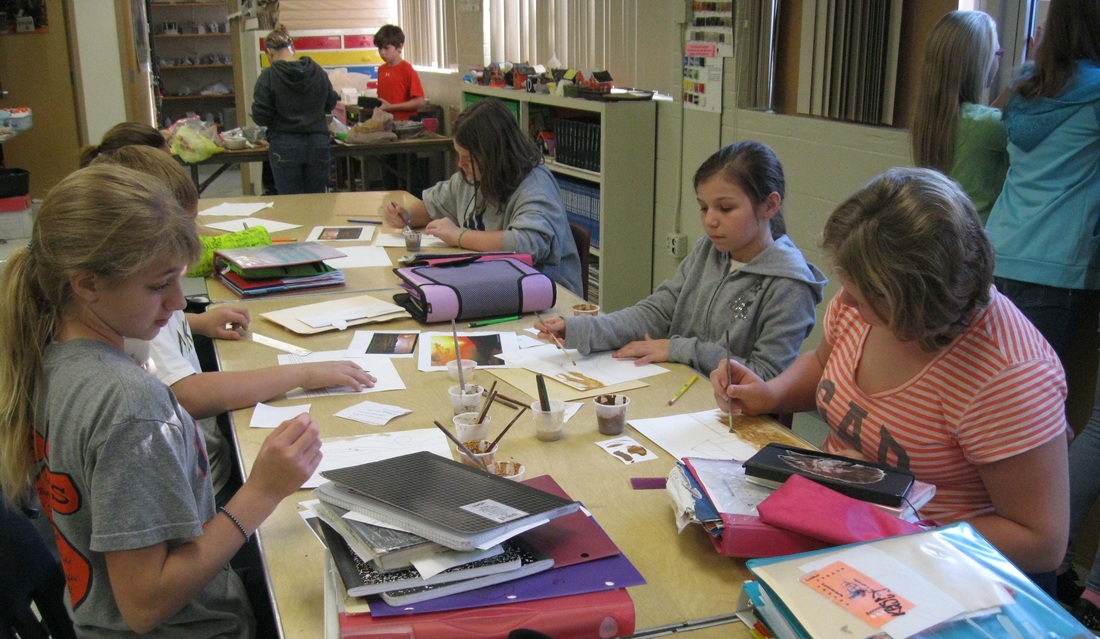
As you can see in the above photograph, we used easily disposable scraps of paper for our paint palette. This was a wise decision as I am still trying to remove glue hardened dirt off of the countertop. :( The students created their paintings on 9 x 12" white tag board. Most students used a photograph as reference for their contour drawing. I did have a few students wanting to know where the blue and green soil paint were, as they had blue sky or green grass to paint. We discussed that instead of color, they would have to find a value of the soil that would be the best match. I can easily say that most students enjoyed this new paint and I think they enjoyed the processing aspect as much as the painting process.
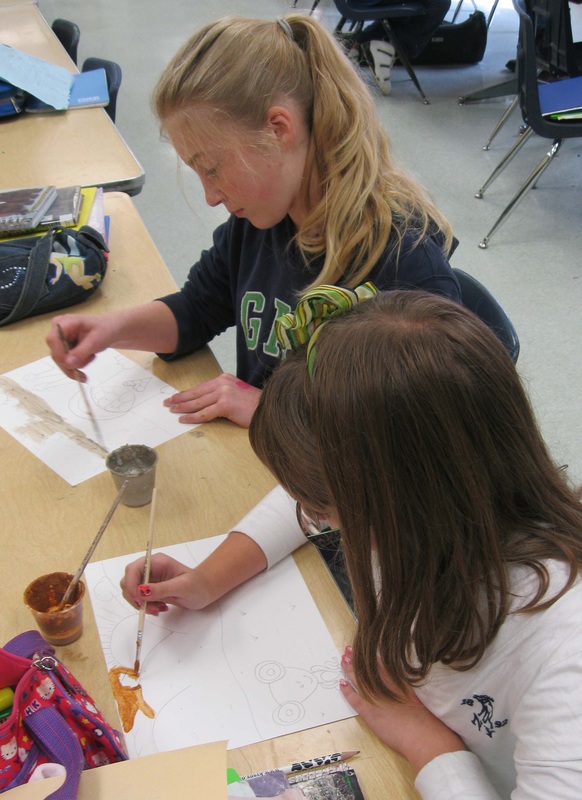
Celeas and Tia hard at work on their paintings.
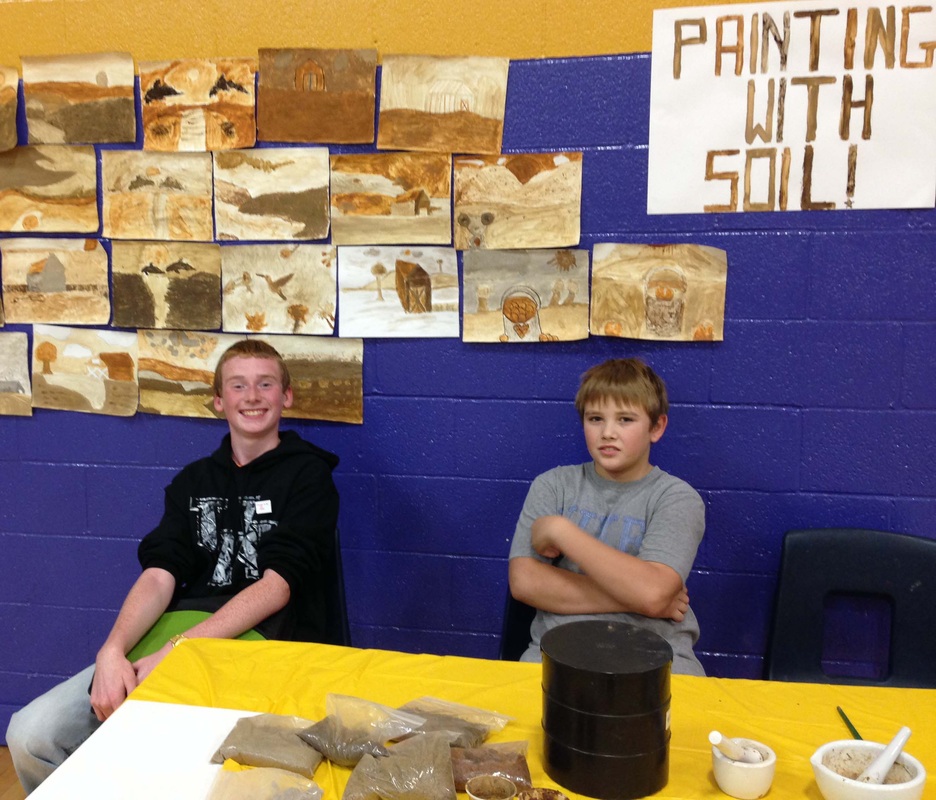
I want to give a thumbs up to the students who stayed at our Expo display and shared their knowledge of the soil painting process. Tony and Tyler did a great job, as well as Hannah, Xander, and Shawn.

Franchesca giving the mortar and pestle a try at the Expo.
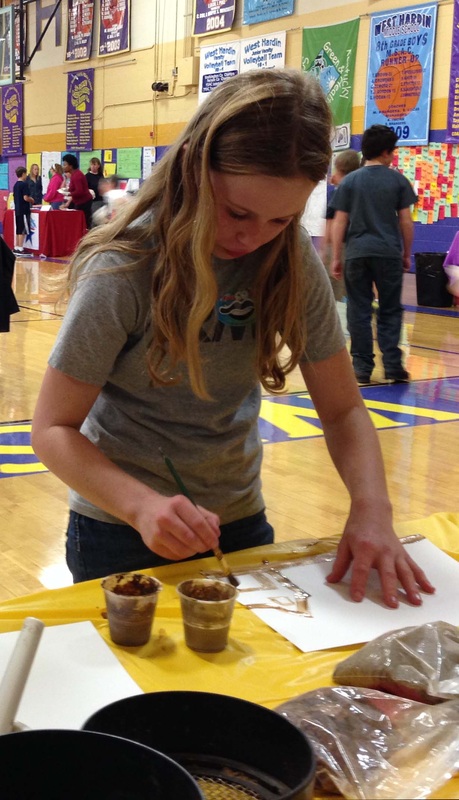
Some of our Expo guests took time out to try their hand at soil painting.
 RSS Feed